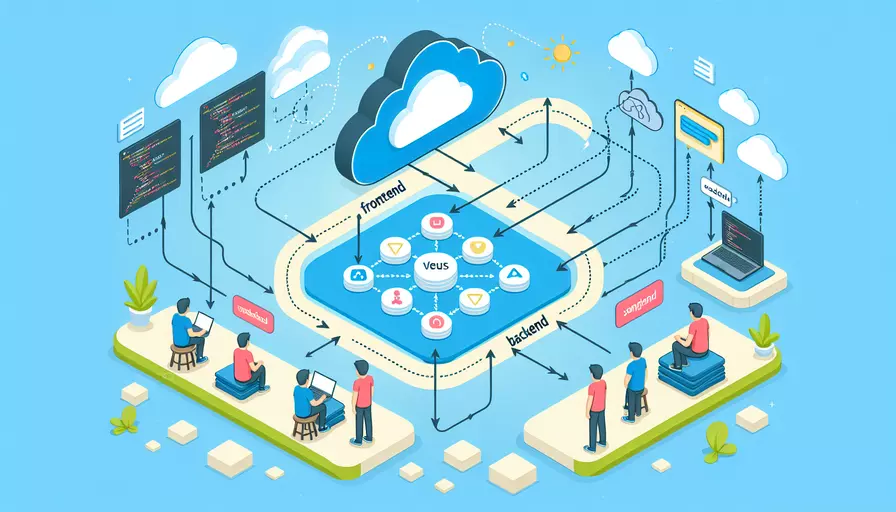
在Vue前端和后端交互中,通常可以通过以下几种方式实现:1、使用Axios进行HTTP请求;2、使用Vuex进行状态管理;3、使用WebSocket实现实时通信。其中,使用Axios进行HTTP请求是一种非常常见且简单的方式。Axios是一个基于Promise的HTTP库,可以用于发送异步请求,处理响应数据。下面将详细介绍如何使用Axios进行前后端交互。
一、使用Axios进行HTTP请求
-
安装Axios
在Vue项目中使用Axios需要先安装它:
npm install axios -
配置Axios
在项目的入口文件(如
main.js)中进行Axios的全局配置:import Vue from 'vue';import axios from 'axios';
// 配置axios的基本URL
axios.defaults.baseURL = 'http://your-api-url.com';
// 将axios挂载到Vue实例上
Vue.prototype.$axios = axios;
-
发送GET请求
在Vue组件中,可以通过
this.$axios来发送GET请求:export default {data() {
return {
items: []
};
},
created() {
this.fetchItems();
},
methods: {
async fetchItems() {
try {
const response = await this.$axios.get('/items');
this.items = response.data;
} catch (error) {
console.error('Error fetching items:', error);
}
}
}
};
-
发送POST请求
同理,可以通过
this.$axios来发送POST请求:export default {data() {
return {
newItem: ''
};
},
methods: {
async addItem() {
try {
const response = await this.$axios.post('/items', { name: this.newItem });
console.log('Item added:', response.data);
} catch (error) {
console.error('Error adding item:', error);
}
}
}
};
二、使用Vuex进行状态管理
-
安装Vuex
首先需要安装Vuex:
npm install vuex -
配置Vuex
在项目的入口文件(如
main.js)中进行Vuex的配置:import Vue from 'vue';import Vuex from 'vuex';
Vue.use(Vuex);
const store = new Vuex.Store({
state: {
items: []
},
mutations: {
setItems(state, items) {
state.items = items;
}
},
actions: {
async fetchItems({ commit }) {
try {
const response = await axios.get('/items');
commit('setItems', response.data);
} catch (error) {
console.error('Error fetching items:', error);
}
}
}
});
new Vue({
store,
render: h => h(App)
}).$mount('#app');
-
在组件中使用Vuex状态
在Vue组件中,可以通过
this.$store.state来访问Vuex状态,通过this.$store.dispatch来派发Vuex actions:export default {computed: {
items() {
return this.$store.state.items;
}
},
created() {
this.$store.dispatch('fetchItems');
}
};
三、使用WebSocket实现实时通信
-
创建WebSocket连接
在Vue组件中,可以使用WebSocket API来创建一个WebSocket连接:
export default {data() {
return {
socket: null,
messages: []
};
},
created() {
this.socket = new WebSocket('ws://your-websocket-url.com');
this.socket.onmessage = this.handleMessage;
},
methods: {
handleMessage(event) {
const message = JSON.parse(event.data);
this.messages.push(message);
}
}
};
-
发送消息
可以通过WebSocket连接发送消息:
export default {data() {
return {
socket: null,
newMessage: ''
};
},
created() {
this.socket = new WebSocket('ws://your-websocket-url.com');
},
methods: {
sendMessage() {
const message = { text: this.newMessage };
this.socket.send(JSON.stringify(message));
this.newMessage = '';
}
}
};
-
处理连接关闭和错误
在实际应用中,还需要处理WebSocket连接的关闭和错误事件:
export default {data() {
return {
socket: null,
messages: []
};
},
created() {
this.socket = new WebSocket('ws://your-websocket-url.com');
this.socket.onmessage = this.handleMessage;
this.socket.onclose = this.handleClose;
this.socket.onerror = this.handleError;
},
methods: {
handleMessage(event) {
const message = JSON.parse(event.data);
this.messages.push(message);
},
handleClose() {
console.log('WebSocket connection closed');
},
handleError(error) {
console.error('WebSocket error:', error);
}
}
};
总结
通过上述介绍,可以看出Vue前端与后端的交互主要有三种常见方式:1、使用Axios进行HTTP请求;2、使用Vuex进行状态管理;3、使用WebSocket实现实时通信。其中,使用Axios进行HTTP请求是最基本也是最常用的方式,适合大多数场景;使用Vuex进行状态管理可以更好地管理应用状态,适合复杂的前端应用;使用WebSocket实现实时通信则适合需要实时更新数据的应用。根据具体的应用需求,选择合适的交互方式,可以更好地提高开发效率和用户体验。建议开发者在实际项目中结合使用这几种方式,充分发挥它们的优势。
相关问答FAQs:
1. 前端与后端交互的基本方式有哪些?
在Vue前端与后端进行交互时,常用的方式有以下几种:
-
Ajax请求:使用XMLHttpRequest或者fetch API发送异步请求,从后端获取数据或者发送数据到后端。可以通过Vue的生命周期钩子或者组件内部方法来触发Ajax请求。
-
RESTful API:使用RESTful风格的API进行前后端的交互。前端通过发送HTTP请求(GET、POST、PUT、DELETE等)到后端的API接口,后端根据请求的方法和路径进行相应的处理并返回结果。
-
WebSockets:WebSockets提供了双向的实时通信机制,可以在前后端之间建立持久的连接,并通过发送消息来实现实时的数据交互。Vue可以通过WebSocket库或者Vue插件来实现与后端的WebSocket通信。
-
GraphQL:GraphQL是一种用于API的查询语言和运行时环境,可以有效地减少前端与后端之间的通信量。前端可以使用GraphQL查询语言来定义需要的数据结构和字段,后端根据前端的查询来返回相应的结果。
2. 如何在Vue中发送Ajax请求与后端进行数据交互?
在Vue中发送Ajax请求与后端进行数据交互,可以使用Vue的生命周期钩子函数或者组件内部的方法来触发Ajax请求。以下是一个示例:
// 在Vue组件中发送Ajax请求
export default {
  data() {
    return {
      users: []
    }
  },
  created() {
    this.fetchUsers()
  },
  methods: {
    fetchUsers() {
      axios.get('/api/users')
        .then(response => {
          this.users = response.data
        })
        .catch(error => {
          console.log(error)
        })
    }
  }
}
上述示例中,通过在Vue组件的created生命周期钩子函数中调用fetchUsers方法来发送Ajax请求。使用axios库发送GET请求到后端的/api/users接口,并将返回的数据赋值给Vue组件的users属性。
3. 如何使用RESTful API在Vue前端与后端进行交互?
使用RESTful API在Vue前端与后端进行交互,需要定义好后端的API接口,并在Vue中发送相应的HTTP请求进行交互。以下是一个示例:
// 在Vue组件中使用RESTful API进行交互
export default {
  data() {
    return {
      user: null
    }
  },
  created() {
    this.fetchUser(1)
  },
  methods: {
    fetchUser(id) {
      axios.get(`/api/users/${id}`)
        .then(response => {
          this.user = response.data
        })
        .catch(error => {
          console.log(error)
        })
    },
    updateUser(user) {
      axios.put(`/api/users/${user.id}`, user)
        .then(response => {
          console.log('User updated successfully')
        })
        .catch(error => {
          console.log(error)
        })
    }
  }
}
上述示例中,通过使用axios库发送GET和PUT请求来获取和更新用户信息。通过/api/users/${id}的路径来获取指定id的用户信息,通过/api/users/${user.id}的路径来更新用户信息。使用.then()和.catch()方法来处理请求成功和失败的回调。
文章标题:vue前端与后端如何交互实例,发布者:飞飞,转载请注明出处:https://worktile.com/kb/p/3674442

 微信扫一扫
微信扫一扫  支付宝扫一扫